

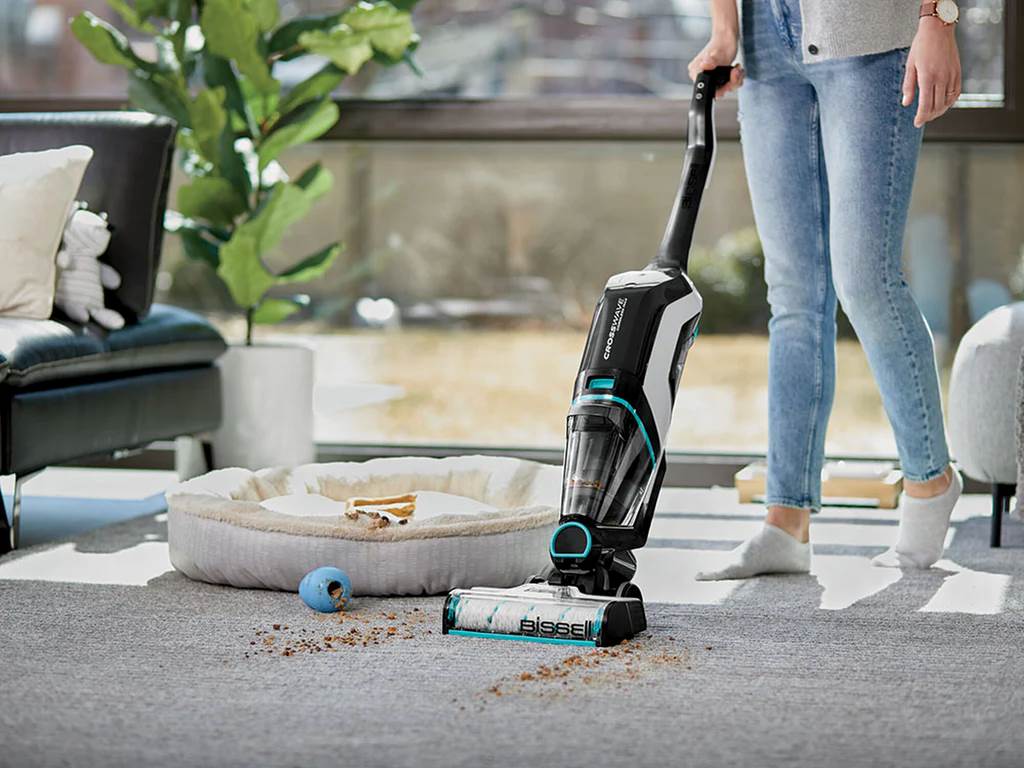
Keeping carpets and floors clean isn’t just about aesthetics—it’s essential for a healthier home. Many people vacuum without a real strategy, which leaves behind hidden dirt, allergens, and bacteria. Learning to vacuum like a pro means more than pushing a machine back and forth. It’s about understanding surfaces, using the right attachments, and following expert-backed techniques that deliver visible results.
The Hidden Dirt Problem Most Homeowners Ignore
According to the Environmental Protection Agency (EPA), indoor air can be up to five times more polluted than outdoor air. One major contributor? Dirty carpets and floors. Dirt, dust mites, pollen, and even mold spores accumulate in carpet fibers and floor gaps. If not removed properly, they can worsen allergies and respiratory conditions.
Surprisingly, research from the Carpet and Rug Institute (CRI) reveals that vacuuming alone can remove up to 85% of dry soil. However, that’s only when using the right equipment and technique. Vacuuming without a plan often leaves much of that dirt behind.
Choose the Right Vacuum: Upright vs. Canister vs. Stick
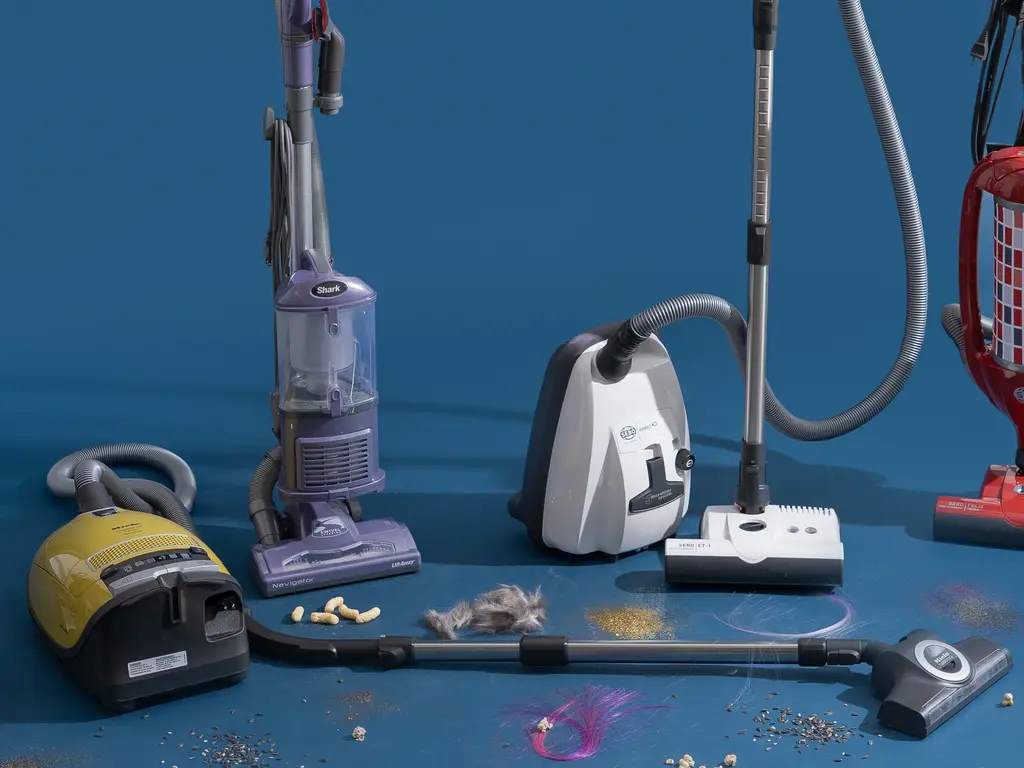
Before diving into techniques, selecting the right vacuum is crucial. Each type offers unique benefits:
- Upright Vacuums: Ideal for wall-to-wall carpeting. They usually feature strong suction and built-in brushes that dig deep into fibers.
- Canister Vacuums: Better for hard floors, stairs, and furniture. They’re versatile but slightly harder to maneuver.
- Stick Vacuums: Lightweight and convenient, perfect for quick clean-ups and small spaces.
According to Consumer Reports, upright vacuums consistently outperform others in deep carpet cleaning, while canisters offer better bare floor performance. Choose one based on your home’s layout and flooring.
Pro Technique #1: Go Slow and Overlap
Speed kills your cleaning power. Many people vacuum too quickly, assuming one pass is enough. In reality, professionals recommend slow, deliberate strokes. Vacuuming slowly allows suction to lift embedded dirt.
Overlap each stroke by at least 50%. This ensures complete coverage, especially in high-traffic areas like hallways and entryways. A 2019 study by Good Housekeeping found that areas vacuumed with slow, overlapping passes had 30% less remaining debris compared to fast, single-pass techniques.
Pro Technique #2: Use the Right Settings
Adjusting your vacuum settings makes a significant difference. For thick carpets, raise the vacuum height so the brushes can agitate without jamming. For hard floors, lower it to maximize suction.
Many models come with a “bare floor” setting that turns off the rotating brush. This prevents scattering dirt instead of sucking it up. Always test settings in a small area before cleaning the whole surface. Explore What is the Best Central Vacuum?
Pro Technique #3: Don’t Ignore Attachments
Attachments aren’t just gimmicks. They’re designed to target specific problem areas:
- Crevice Tools: Great for corners, baseboards, and tight spots.
- Dusting Brushes: Perfect for vents, blinds, and furniture.
- Upholstery Tools: Essential for cleaning couches, chairs, and pet beds.
Using the right attachment in the right area cuts cleaning time and boosts effectiveness. According to Martha Stewart Living, neglecting attachments results in nearly 40% of dirt remaining on multi-surface furniture.
Pro Technique #4: Vacuum in Two Directions

Professionals always vacuum in two directions—first vertically, then horizontally. This crosshatch method ensures maximum dirt extraction and fluffs up the carpet pile.
Think of it like mowing a lawn. A single direction doesn’t give a uniform finish. By changing angles, you pull out dirt stuck deeper in the fibers.
Pro Technique #5: Empty the Bag Often
A full bag or bin reduces suction dramatically. Vacuum manufacturers suggest emptying the bag when it’s two-thirds full. Ignoring this reduces suction power and increases motor strain.
Regular filter maintenance is also essential. Wash or replace filters monthly, depending on your vacuum model. Clean filters mean better airflow, longer machine life, and cleaner floors.
Pro Technique #6: Create a Vacuuming Schedule
Consistency beats intensity. Waiting until the floors “look dirty” means you’ve already let allergens accumulate. Experts recommend vacuuming high-traffic areas twice a week and other areas once a week.
Homes with pets or kids need more frequent attention. The Asthma and Allergy Foundation of America emphasizes that daily vacuuming in such homes drastically reduces allergy triggers.
Pro Technique #7: Prep the Room First
Remove small objects, cords, and clutter before vacuuming. This not only prevents damage to the machine but also allows smoother, uninterrupted passes.
Dust surfaces before vacuuming. Gravity pulls dust to the floor, so vacuuming afterward ensures you pick up what settles. This creates a truly clean environment instead of stirring particles back into the air.
Pro Technique #8: Use a HEPA Filter
High-Efficiency Particulate Air (HEPA) filters trap 99.97% of microscopic particles. These are especially important for allergy-prone households.
Standard filters release fine particles back into the air. In contrast, HEPA filters lock them in, making the air cleaner post-vacuuming. According to the National Center for Healthy Housing, HEPA-equipped vacuums improve indoor air quality more effectively than standard models.
FAQs
1. How often should I vacuum my carpets and floors?
High-traffic areas should be vacuumed twice a week. Less-used rooms need attention at least once a week.
2. What’s the best vacuum for pet hair?
Upright vacuums with rotating brushes and strong suction work best. Look for models with specialized pet tools.
3. Can vacuuming damage hardwood floors?
Yes, if you use the wrong setting. Use a vacuum with a “hard floor” mode or turn off the rotating brush.
4. Is a robot vacuum enough?
Robot vacuums are great for maintenance but don’t replace deep cleaning. Use a manual vacuum weekly for thorough results.
5. What’s better: bagged or bagless vacuums?
Bagged vacuums trap allergens better. Bagless versions offer convenience but may release dust when emptied.
6. Do I need to vacuum under furniture?
Yes. Dust and allergens collect under beds and sofas. Use attachments or move furniture occasionally.
7. Can I vacuum wet carpets?
Never use a dry vacuum on wet carpets. Use a wet/dry vacuum designed for moisture or call a professional.
Final Thought
To vacuum like a pro: techniques for cleaner carpets and floors aren’t about fancy equipment alone—they’re about smart strategies. Clean floors don’t just look better—they support healthier living. With the right approach, consistency, and tools, anyone can transform their cleaning routine. Whether you’re battling pet hair, dust, or just daily grime, using these expert methods will help you achieve results you can see and feel.
Give your carpets and floors the attention they deserve. Because in the long run, professional-level vacuuming saves time, money, and your home’s air quality.