

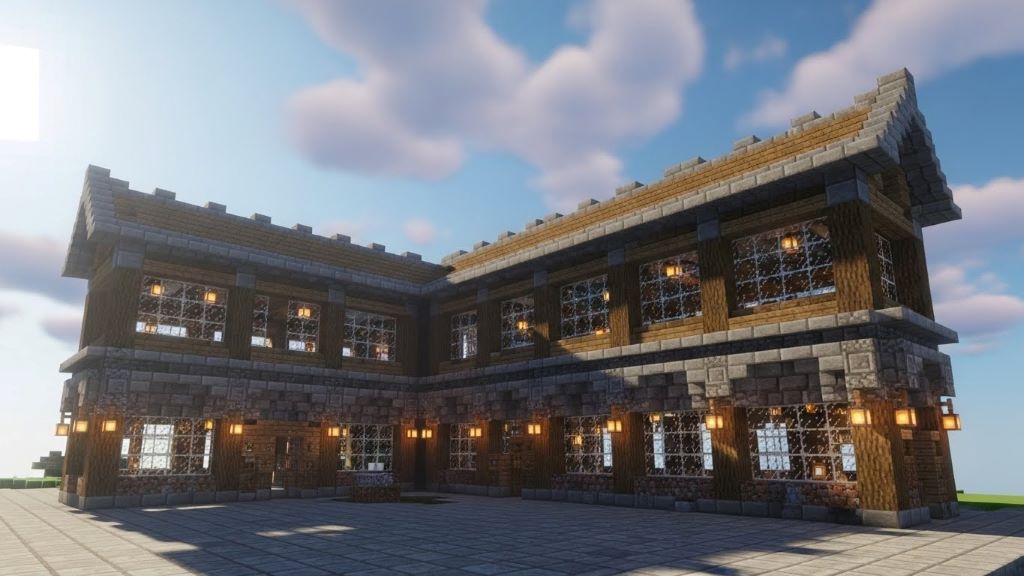
Minecraft renders have become increasingly popular among content creators and enthusiasts who want to showcase their builds in stunning detail. However, many users encounter a frustrating issue when using rendering software: noisy shadows that ruin otherwise beautiful images. If you’re experiencing this problem, you’re not alone. The team at Games Platform Hub has helped countless players overcome rendering challenges, and this guide will walk you through everything you need to know about fixing noisy shadows.
Noisy shadows appear as grainy, speckled artifacts in the darker areas of your renders. These imperfections can make your carefully constructed Minecraft worlds look unprofessional and distracting. Fortunately, understanding why this happens and how to fix it is simpler than you might think. Whether you’re rendering a massive castle or a cozy cottage, eliminating shadow noise will dramatically improve your final images.
When working with chunky minecraft rendering projects, shadow noise is primarily caused by insufficient sampling during the rendering process. Additionally, certain lighting conditions and scene complexity can exacerbate the problem. Therefore, learning the right settings and techniques becomes essential for anyone serious about creating high-quality Minecraft renders.
Understanding Shadow Noise in Chunky
Shadow noise occurs when the rendering engine doesn’t calculate enough light samples to accurately represent shadows in your scene. Essentially, Chunky uses a technique called path tracing to simulate realistic lighting. This method sends virtual light rays throughout your scene, and when too few rays are used, the result is a noisy, grainy appearance in shadowed areas.
The rendering process works by bouncing light rays off surfaces multiple times. Each bounce provides information about how light interacts with your Minecraft blocks. However, complex scenes with intricate shadows require more samples to achieve smooth, clean results. This is why simple outdoor scenes often render faster and cleaner than detailed indoor spaces with multiple light sources.
Moreover, the type of blocks you use affects shadow quality. Transparent blocks like glass and water can create more challenging lighting scenarios. Similarly, scenes with many small details or complex geometries require higher sample counts to eliminate noise completely.
Increasing Sample Count
The most effective solution for noisy shadows is increasing your sample count, also known as samples per pixel or SPP. Think of samples as the number of calculations Chunky performs for each pixel in your image. More samples equal cleaner shadows but longer render times.
Start by setting your SPP to at least 1000 for decent quality. However, professional-looking renders often require 5000 to 10000 samples or more. The exact number depends on your scene’s complexity and your patience for waiting. You can find the SPP setting in Chunky’s render controls panel under the rendering tab.
Gradually increase your sample count rather than jumping to extremely high numbers immediately. This approach lets you preview results and determine when shadow quality becomes acceptable for your needs. Additionally, you’ll develop a sense of how many samples different types of scenes require.
Optimizing Render Settings
Beyond sample count, several other settings significantly impact shadow quality. First, ensure your ray depth is set appropriately. Ray depth controls how many times light can bounce before the calculation stops. For most Minecraft scenes, a ray depth of 5 to 8 works well.
Next, enable emitters in your scene. Emitters are blocks that produce light, such as torches, glowstone, and lava. Properly configured emitters reduce noise by providing consistent light sources throughout your scene. Furthermore, you can adjust emitter intensity to balance brightness and shadow definition.
The sun intensity setting also affects shadow quality. Higher sun intensity creates harder, more defined shadows that may require fewer samples to appear clean. Conversely, lower intensity creates softer shadows that might need more samples but look more realistic. Experiment with values between 1.0 and 2.0 to find what works best for your scene.
Using Denoising Techniques
Modern rendering workflows often incorporate denoising as a post-processing step. While Chunky doesn’t include built-in denoising, you can use external tools to clean up your renders. Popular options include GIMP, Photoshop, and specialized denoising plugins.
When applying denoising, use subtle settings to preserve important details. Over-aggressive denoising can make your renders look plastic or blurry, removing the fine details that make Minecraft renders special. Therefore, always work on a copy of your original render and adjust denoising strength gradually.
Some users prefer rendering at slightly lower sample counts and then applying careful denoising. This method can save significant rendering time while still producing acceptable results. However, nothing beats a properly rendered image with sufficient samples from the start.
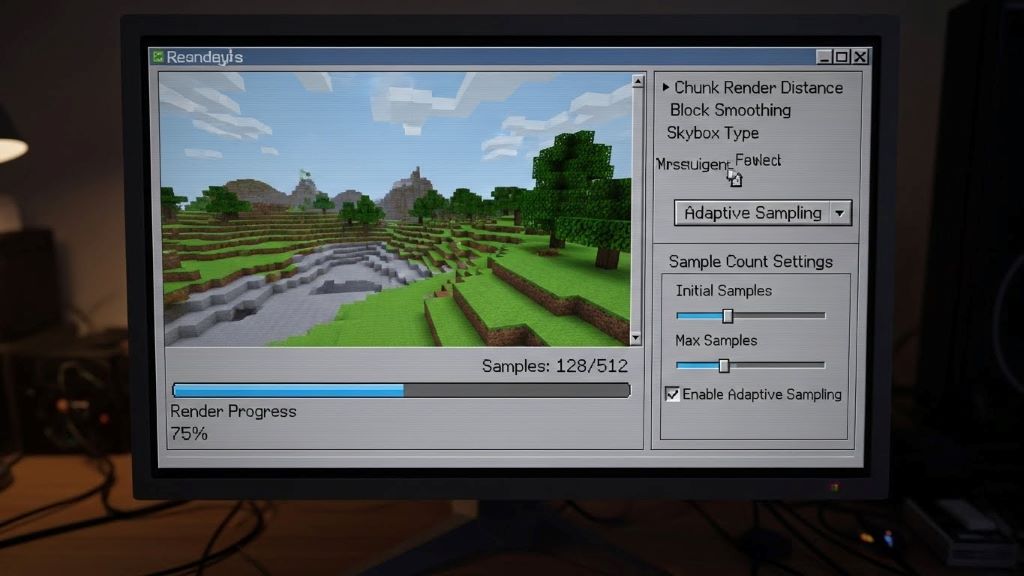
Managing Render Time Efficiently
Long render times are inevitable when pursuing high-quality results. Nevertheless, you can manage your workflow to minimize frustration. Start renders before bed or during times when you won’t need your computer. Most renders take several hours or even overnight for complex scenes at high sample counts.
Consider rendering at lower resolutions during testing phases. A 1080p test render completes much faster than a 4K version and still shows you whether your lighting setup works. Once satisfied with the composition and lighting, increase the resolution for your final render.
Additionally, focus on one section of your build at a time. Rendering smaller areas with fewer chunks loaded reduces render time significantly. You can later combine multiple renders in image editing software to create a complete scene. This technique proves especially useful for massive builds that would take days to render in one shot.
Advanced Lighting Techniques
Proper lighting setup prevents shadow noise before it starts. Place light sources strategically throughout your scene rather than relying solely on sunlight or moonlight. This approach creates more even illumination and reduces the extreme contrast that causes noise.
Experiment with different times of day in Chunky. Midday lighting with the sun high overhead often produces cleaner shadows than sunrise or sunset lighting. However, golden hour lighting can create stunning artistic effects worth the extra rendering time. According to PC Gamer, proper lighting remains one of the most important aspects of creating compelling gaming visuals.
Sky settings also impact overall image quality. Chunky offers various sky options including gradient skies, simulated skies, and custom skyboxes. Each option affects how light bounces around your scene. Generally, brighter skies reduce shadow noise by adding ambient light to dark areas.
Troubleshooting Persistent Noise
Sometimes shadow noise persists despite following all recommendations. In these cases, examine your scene for specific problem areas. Tight corners, narrow passages, and areas with multiple overlapping shadows often prove most challenging.
Try increasing local light sources in problematic areas. Even adding hidden glowstone blocks above ceilings can provide enough ambient light to reduce noise. Furthermore, consider simplifying overly complex geometry if certain structures consistently produce noisy renders.
Check your Chunky version as well. Updates frequently include performance improvements and better rendering algorithms. Keeping your software current ensures you benefit from the latest optimizations and bug fixes.
Conclusion
Fixing noisy shadows in Chunky Minecraft renders requires patience and understanding of how path tracing works. By increasing sample counts, optimizing render settings, and implementing proper lighting techniques, you can achieve professional-quality results. Remember that higher quality demands more rendering time, but the stunning final images are worth the wait.
Start with the fundamentals of increasing SPP and ray depth, then experiment with advanced techniques as you become comfortable with the software. Each scene presents unique challenges, so develop your intuition through practice and experimentation. With these strategies in your toolkit, you’ll create beautiful, noise-free renders that showcase your Minecraft creations in their best light.
Frequently Asked Questions
How many samples do I need for clean shadows in Chunky?
Most scenes require between 5000 and 10000 samples per pixel for clean, professional-looking shadows. However, simpler scenes with good lighting may look acceptable at 2000 to 3000 samples, while complex indoor scenes might need 15000 or more samples to eliminate all noise.
Why do my renders still look grainy after 10000 samples?
Persistent graininess after high sample counts usually indicates lighting issues rather than insufficient samples. Check for areas with very little light reaching them, increase emitter intensity, or add additional light sources to problematic areas. Also verify that your ray depth is set to at least 5.
Can I speed up Chunky renders without losing quality?
Yes, several techniques help. Render at lower resolutions during testing, reduce the number of chunks loaded in your scene, close unnecessary programs to free up system resources, and consider upgrading your computer’s CPU since Chunky relies heavily on processor performance rather than graphics cards.
What’s the difference between emitter intensity and sun intensity?
Emitter intensity controls the brightness of light-producing blocks like torches and glowstone within your scene. Sun intensity controls the brightness of the primary light source coming from above. Both affect overall lighting balance, but sun intensity has a more dramatic impact on outdoor scenes and shadow definition.
Should I use CPU or GPU rendering in Chunky?
Chunky primarily uses CPU rendering for its path tracing calculations. While GPU acceleration has been explored in experimental versions, the stable release relies on CPU power. Therefore, a strong multi-core processor provides the best rendering performance for Chunky projects.
Related Topics:
PlayStation Console Review | Pros, Cons And Final Verdict
How to Set Up Secure Parental Controls on Gaming Consoles: A 2025 Guide